
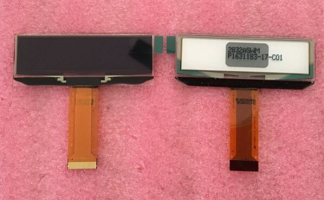
2.23 inch 24P SPI White OLED Screen SSD1309 SSD1305 Drive IC 128*32 I2C / Parallel Interface
25.76 $
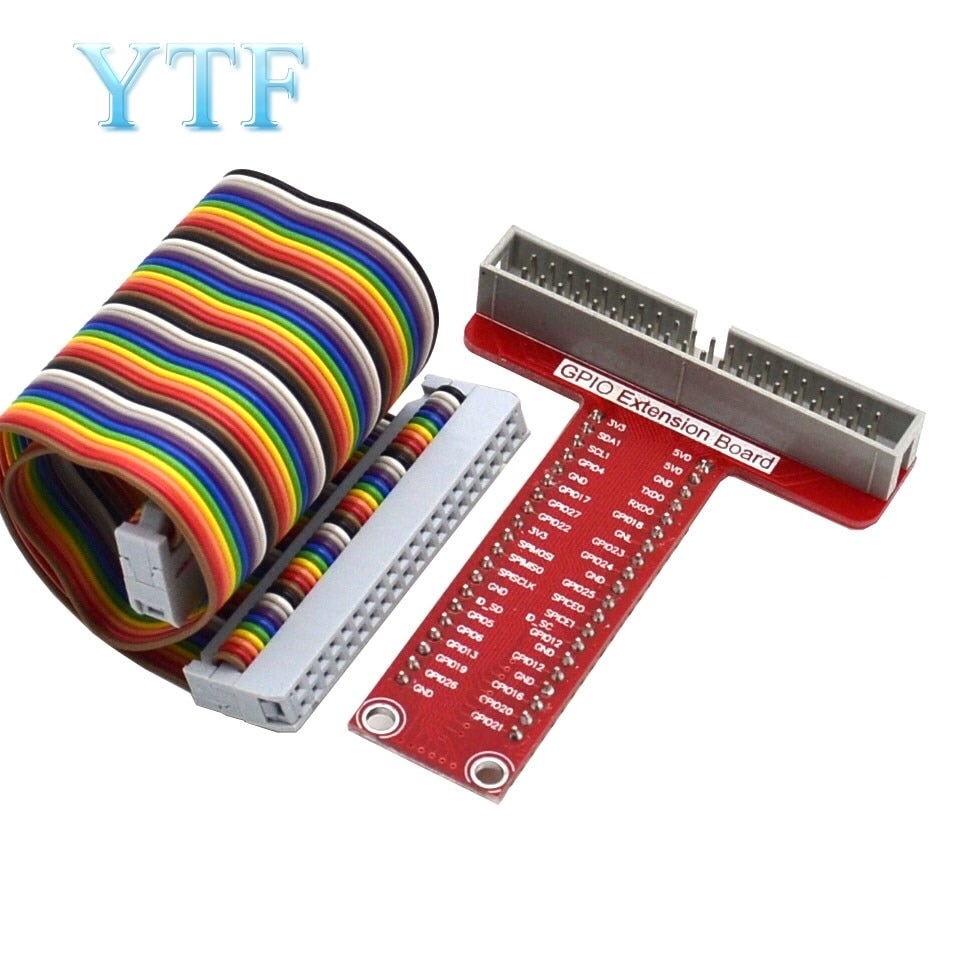
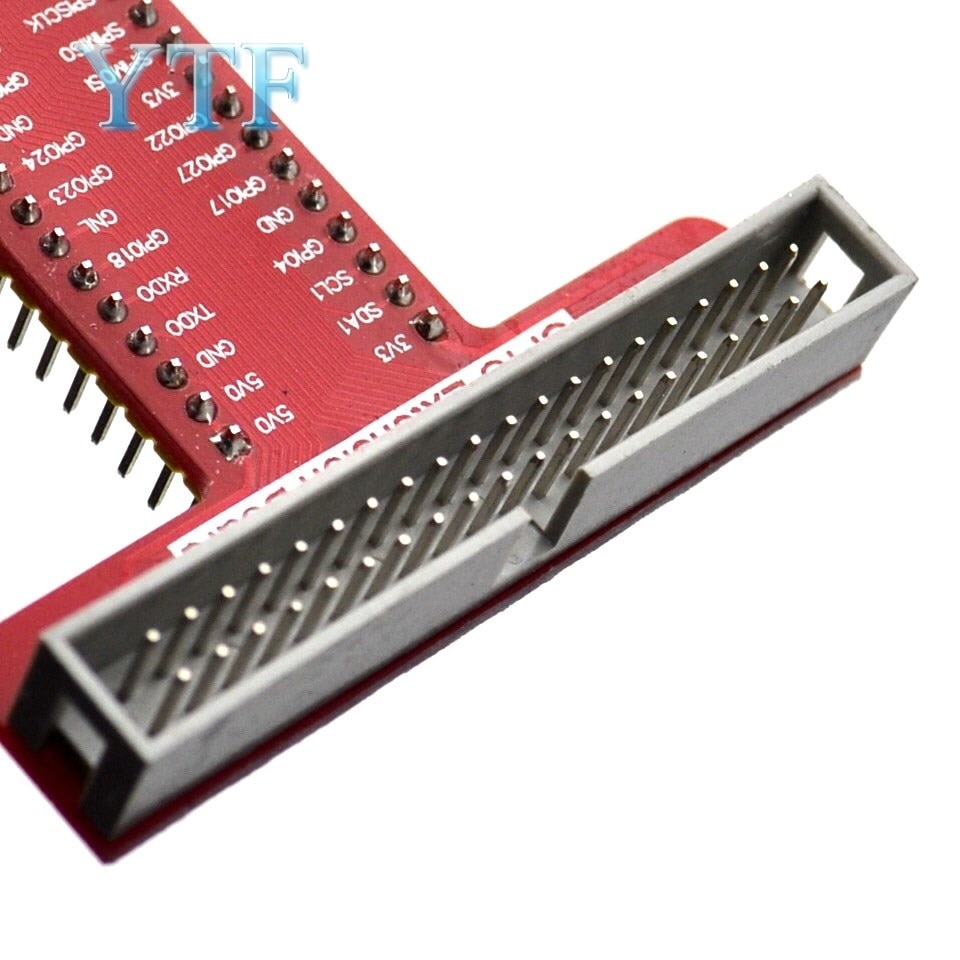

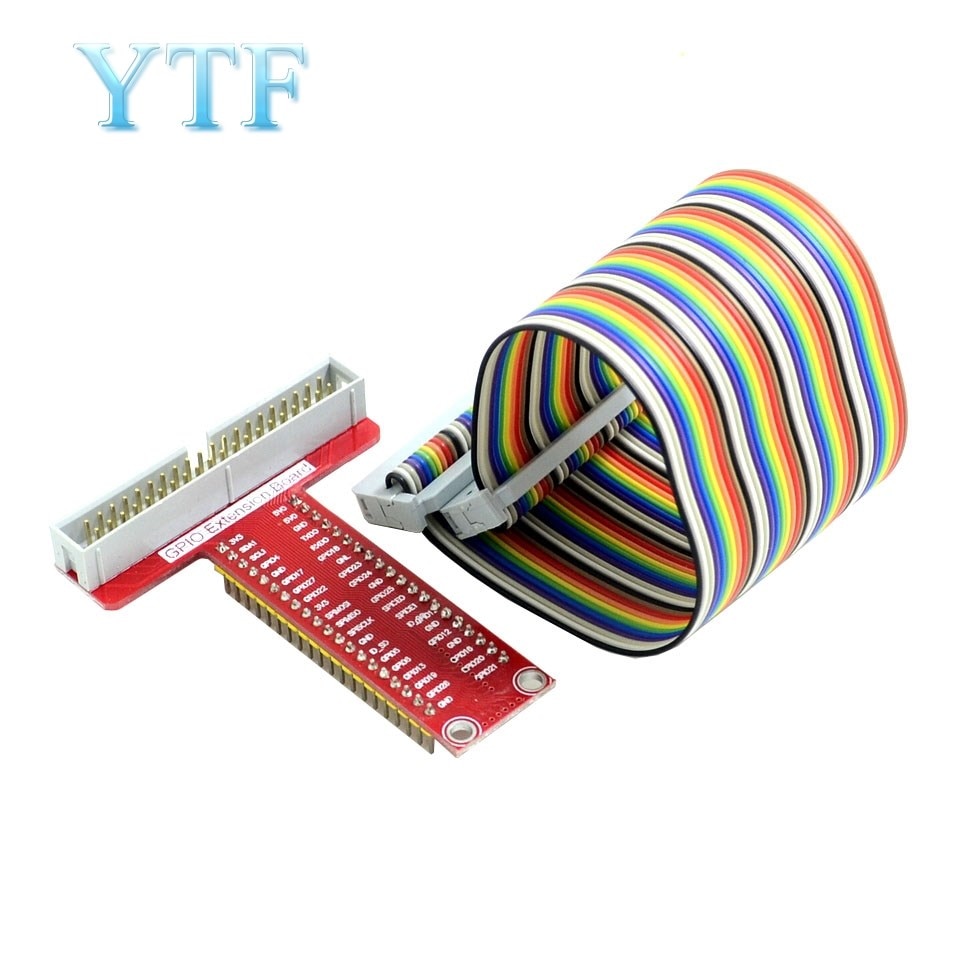
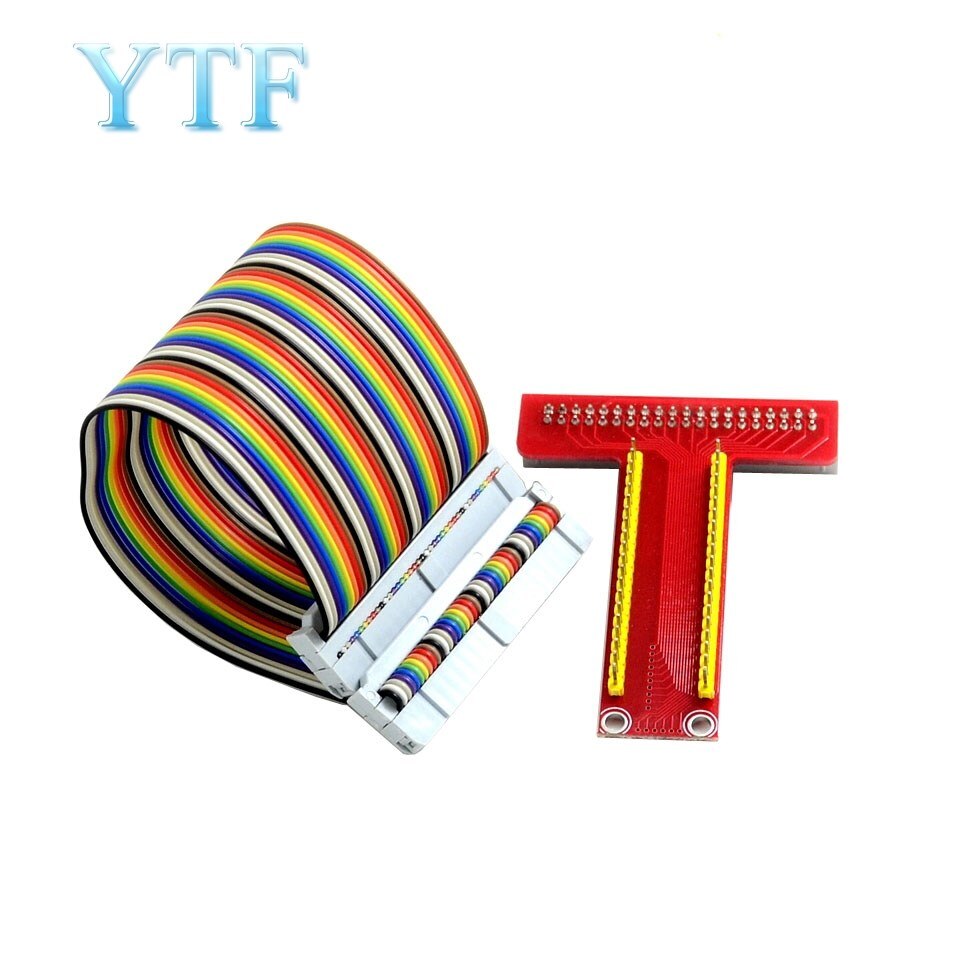

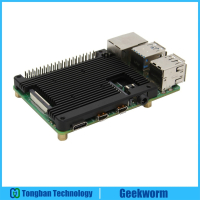
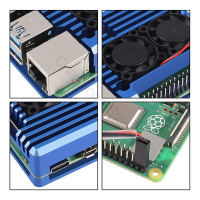
Raspberry Pi B+ special accessories T-shaped GPIO expansion board development board
You can import the RPi.GPIO module with the following code.
importRPi.GPIOasGPIO
Once introduced, you can use functions from the GPIO module. If you want to check whether the module was introduced successfully, you can also write:
try:
importRPi.GPIOasGPIO
exceptRuntimeError:
print (" Introduce error ")
Pin number
In RPi.GPIO, both GPIO pin numbers on Raspberry PI are supported. The first number is the BOARD number, which corresponds to the physical pin number on the Raspberry PI board. The advantage of using this numbering is that your hardware will always be usable and you won't have to worry about Raspberry PI versions. So you don't need to rewrite the connectors or code after the board is upgraded.
The second type of numbering, the BCM rule, is a more low-level way of working that corresponds to the channel numbering in Broadcom's system-on-chip. When using a pin, you need to look for the corresponding rules between the channel number and the physical pin number. The script file may not be universal for different versions of Raspberry PI.
You can specify a numbering rule with the following code (mandatory) :
GPIO.setmode (GPIO.BOARD)
#or
GPIO.setmode (GPIO.BCM)
The following code returns the numbering rule that was set
mode=GPIO.getmode ()
warning
If RPi.GRIO detects that a pin has been set to a non-default value, you will see a warning message. You can disable warnings with the following code:
GPIO.setwarnings (False)
Pin setting
Before using a pin, you need to set the pins as input or output. The code to configure a pin is as follows:
# Set the pin to input mode
GPIO.setup (channel, GPIO.IN)
# Set the pin to output mode
GPIO.setup (channel, gpio.out)
# sets the default value for the pins of the output
GPIO.setup (channel, GPIO.OUT, initial=GPIO.HIGH)
release
Generally speaking, the application needs to release resources at the end of the application. This good habit can avoid accidentally damaging the Raspberry PI. Release the pins used in the script:
GPIO.cleanup ()
Note that gpio.cleanup () releases only the GPIO pins used in the script and clears the set pin numbering rules.
To set the port to the output state:
If you want to light an LED light or drive a device, you need to give the current and voltage to them. This step is very simple, just set the output state of the pin. The code is as follows:
GPIO.output (channel, state)
State can be set to 0 / GPIO. LOW/False / 1 / GPIO. HIGH/True. If the encoding rule is GPIO.BOARD, then channel is the number corresponding to the pin.
If you want to set more than one pin at a time, use the following code:
chan_list= [11,12]
GPIO.output (chan_list, GPIO.LOW)
GPIO.output (chan_list, (GPIO.HIGH, GPIO.LOW))
You can also use the Input () function to read the state of an output pin and use it as an output value, for example:
GPIO.output (12, notGPIO.input (12))
read
We often need to read the input state of the pin to obtain the following code:
GPIO.input (channel)
Return 0/GPIO.LOW/False for low levels and 1/GPIO.HIGH/True for high levels.
If the input pin is suspended, the pin value will float. In other words, the value read is unknown because it is not connected to any signal until a button or switch is pressed. The input value may change repeatedly due to interference. Use the following code to solve the problem:
GPIO.setup (channel, GPIO.IN, pull_up_down=GPIO.PUD_UP)
#or
GPIO.setup (channel, GPIO.IN, pull_up_down=GPIO.PUD_DOWN)
It is important to note that the reading code above just gets the pin input signal for the current instant.
If you need to monitor pin status changes in real time, there are two methods. The simplest primitive way is to check the input signal value at regular intervals, which is called polling. If your program reads at the wrong time, it is likely to lose the input signal. Polling is done in a loop, which takes up processor resources. Another way to respond to GPIO input is to use interrupts (edge detection), where the edge refers to the transformation of the signal from high to low (falling edge) or from low to high (rising edge).
Polling mode
whileGPIO.input (channel) ==GPIO.LOW: Whilegpio. input (channel) == gpio. low:
# wait10mstogiveCPUchancetodootherthings time. Sleep (0.01)
Edge detection
An edge is a change in signal state, from low to high (rising edge) or high to low (falling edge). In general, we care more about the edge of the input state than the value of the input signal. The side of this state is called an event. Let's start with two functions:
wait_for_edge () function. wait_for_edge () is used to prevent the program from continuing until an edge is detected. That is, the example of waiting for the button to be pressed above could be rewritten as: channel=GPIO.wait_for_edge (channel, GPIO_RISING, timeout=5000)
ifchannelisNone:
print (' Timeoutoccurred ')
else:
print (' Edgedetectedonchannel ', channel)
add_event_detect () function This function listens for a pin and returns true when the input state of the pin changes, as shown in the following code: GPIO. Add_event_detect (channel, GPIO. RISING) # addrisingedgedetectiononachannel
do_something ()
// The following code is executed in a thread loop.
ifGPIO.event_detected (channel) :
print (' Buttonpressed ')
The above code requires a new thread of its own to loop through the value of event_detected (), which is a bit of a hassle.
However, another way to easily detect state is to pass in a callback function directly:
defmy_callback (channel) :
Print (' Thisisaedgeeventcallbackfunction! ')
print (' Edgedetectedonchannel%s' %channel)
Print (' Thisisruninadifferentthreadtoyourmainprogram)
GPIO.add_event_detect (channel, GPIO.RISING, callback=my_callback)
If you want to set more than one callback function, you can do this:
defmy_callback_one (channel) :
print (' Callbackone ')
defmy_callback_two (channel) :
print (' Callbacktwo ')
GPIO.add_event_detect (channel, GPIO.RISING)
GPIO.add_event_callback (channel, my_callback_one)
GPIO.add_event_callback (channel, my_callback_two)
Note: When a callback is triggered, the callback functions are not executed at the same time; instead, they are called in the order they were set.
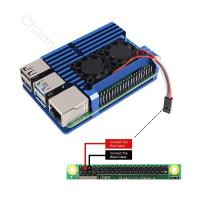
General example: Light up LED lights
This explains a whole bunch of libraries, so it's time for a simple experiment. The experiment is simple. Light up an LED light.
Before you can write the code, first you need to connect the led light pin to the Raspberry PI pin via the dupont wire, for example, you can connect to pin 11.
Create a new main.py file and write the following code:
importRPi.GPIOasGPIO// Introduces importrpi. gpioasgpio //
importtime
RPi.GPIO.setmode (GPIO.BOARD) // Set pin numbering rules
RPi.GPIO.setup (11, RPi.GPIO.OUT) // Set pin 11 to output mode
whileTrue
GPIO.output (channel, 1) // Set the status of the pin to high level, then the LED lights up
time.sleep (1) // The program sleeps for 1 second and the LED is on for 1 second
GPIO.output (channel, 0) // Set the pin status to low and the LED is off
time.sleep (1) // Program sleep 1 second, let LED off 1 second
GPIO.cleanup () // Don't forget to clear all resources at the end of the program
Save and exit the file. To see the effect, run python3main.py. Ctrl+C can close the program.
In addition, try other functions to enhance the impression.
Use PWM
The python library also supports output in PWM mode, which we can use to create the breath light effect. See the code for details:
importtime
importRPi.GPIOasGPIO// Importrpi. gpioasgpio //
GPIO.setmode (GPIO.BOARD) // Set the numbering mode
GPIO.setup (12, GPIO.OUT) // Set pin 12 to output mode
p=GPIO.PWM (12,50) // Initializes pin 12 to a PWM instance at a frequency of 50Hz
p.start (0) // Start pulse width modulation, parameter range: (0.0 =dc =100.0)
try:
while1:
fordcinrange (0,101,5) :
p.ChangeDutyCycle (dc) // Modify the parameter range of duty cycle: (0.0 =dc =100.0)
time.sleep (0.1)
fordcinrange (100, -1, -5) :
p.ChangeDutyCycle (dc)
time.sleep (0.1)
exceptKeyboardInterrupt:
pass
P.top () // Stop output PWM wave
GPIO.cleanup () // Cleanup
conclusion
In this article, I have explained the concept of GPIO and how to operate it using python. However, if you want to fully understand Raspberry PI gpio programming, you need to do hands-on operation and analysis and summary.
The following is the test procedure
# -*- coding: utf-8 -*- # Declaration allows writing Chinese in the program
import RPi.GPIO as GPIO # Import RPi.GPIO library function named GPIO
import time # Introduces the timing time function
# BOARD numbering mode based on socket pin number
Gpio.setmode (gpio.board) # Set the GPIO programming mode to BOARD mode
# Output mode
Gpio.setup (11, gpio.out) # Set GPIO pin 11 as the output pin
while True: # The condition is true, the following program continues to loop
GPIO.output(11, GPIO.HIGH) # Set the voltage of pin 11 to high and light the LED
time.
We are proud to offer international shipping services that currently operate in over 200 countries and islands world wide. Nothing means more to us than bringing our customers great value and service. We will continue to grow to meet the needs of all our customers, delivering a service beyond all expectation anywhere in the world.
Packages from our warehouse in China will be shipped by ePacket or EMS depending on the weight and size of the product. Packages shipped from our US warehouse are shipped through USPS.
Yes. We provide free shipping to over 200 countries around the world. However, there are some location we are unable to ship to. If you happen to be located in one of those countries we will contact you.
We are not responsible for any custom fees once the items have shipped. By purchasing our products, you consent that one or more packages may be shipped to you and may get custom fees when they arrive to your country.
Shipping time varies by location. These are our estimates:
| Location | *Estimated Shipping Time |
|---|---|
| United States | 10-30 Business days |
| Canada, Europe | 10-30 Business days |
| Australia, New Zealand | 10-30 Business days |
| Central & South America | 15-30 Business days |
Yes, you will receive an email once your order ships that contains your tracking information.
For some shipping companies, it takes 2-5 business days for the tracking information to update on the system.
For logistical reasons, items in the same purchase will sometimes be sent in separate packages, even if you've specified combined shipping.
If you have any other questions, please contact us and we will do our best to help you out.
All orders can be cancelled until they are shipped. If your order has been paid and you need to make a change or cancel an order, you must contact us within 12 hours. Once the packaging and shipping process has started, it can no longer be cancelled.
Your satisfaction is our #1 priority. Therefore, if you’d like a refund you can request one no matter the reason.
If you did not receive the product within the guaranteed time(60 days not including 2-5 day processing) you can request a refund or a reshipment.
If you received the wrong item you can request a refund or a reshipment.
If you do not want the product you’ve receive you may request a refund but you must return the item at your expense and the item must be unused.
*You can submit refund requests within 15 days after the guaranteed period for delivery (60 days) has expired. You can do it by sending a message on Contact Us page
If you are approved for a refund, then your refund will be processed, and a credit will automatically be applied to your credit card or original method of payment, within 14 days.
If for any reason you would like to exchange your product, perhaps for a different size in clothing. You must contact us first and we will guide you through the steps.
Please do not send your purchase back to us unless we authorise you to do so.

Thank you for your interest doing business with us!
If you would like to get a discounted price for your large purchase orders, fill in the required blanks along with your email address, the product Item ID # and/or the link of the item that you want to order, item quantity (minimum of 30 pieces), shipping country and payment method is required. We will contact you with a discounted price as soon as we receive your inquiry.© 2017-2023 CNTRONIC Consumer Electronics Retailer.